How to Cook for the Camp: An Intro to Eating Well Outdoors
Cooking for several people while at camp can be difficult task whether you’re cooking over a fire or a stove. In this blog, we talk about how to make cooking at camp easier; show ways to improve the efficiency of your stove and show you some bushcraft techniques.
After a long day’s walk, little tastes better than food cooked over a campfire and eaten under the stars. But acheiving this can be a struggle involving many burned pots, pans, and much pasta.
In this week’s blog, we will be looking at cooking for novices, families and the more experienced woodsman. We will cover the basics of campfire and gas stove cooking; including organisation, timing, and available resources. We also look at more advanced bushcraft techniques including; creating pot hangers, efficient fire use and principles of no trace.
You can choose to read the whole post or click on the links below to take you to the section that you are most interested in.
- Cooking when camping – the basics
- Campfire cooking
- Cooking for a family or small group
- How to make sure that you leave no trace
Scroll down to find out more
Cooking when camping- the basics
Whether cooking over a gas stove or a campfire, cooking for one person or for many, getting the basics right means the difference between success or failure. In this section we introduce you to the basics of cooking when camping; the advice in this section will stand you in good stead whether you’re at a standard campsite, wild camping or bushcraft out in the UK woods.
Basic camping cooking – meal planning
Meal planning is the cornerstone of any camping cooking experience. The key to success with meal planning is to keep it simple and to keep it varied. This will not only save the cook a lot of trouble but will also keep those that are eating interested. No matter whether you’ve driven to your camp with tons of kit or hiked miles carrying the bare minimum, cooking outdoors is not the same as at home – but that does not mean outdoor food is bland.
Think in terms of calories
When outdoors it often helps to think of meals in terms of calories, not plate sizes. This is particularly true when engaging in strenuous activities such as hiking over rough terrain. Choose foods that are high in calories and take up little room in your pack. For more information on what sort of foods you should be packing have a look at our blog Organisation in Bushcraft and Camping: Fire, Food, and Hygiene.
Basic camping cooking – timing
Timing, as they say, is everything. This is especially true when cooking outdoors. Whether you’re cooking over a campfire or a gas stove timings will differ wildly to what they are at home. While the techniques may be the same as when indoors different elements, such as the wind, the wood you’re cooking on, and your height above sea level will all impact on timings.
Use your stove efficiently
For the sake of ease, this section will focus on using a gas stove when camping. In order to use gas stoves efficiently, it is important to understand how they works.
How temperature affects stove efficiency
Most fuel canisters are a mixture of propane and butane, or propane and isobutane. This is kept in liquid form in the canister, then turns into gas as it is released through the stove top. If the outside temperature drops too much then the temperature of the canister will also drop and the liquid fuel will be too cold to turn into gas and cannot be ignited. For butane fuels this can occur at around – 0.5 degrees Celsius (31 degrees Fahrenheit), while isobutane stoves will stop working around – 11 degrees Celsius (11 degrees Fahrenheit).
Using windshields with a stove
Even a gentle 5 mph wind can increase the fuel used in any give cooking period by as much as 300% so make sure that when using your stove you build a barrier or carry a collapsible windshield with you. Be aware though that, using a metal shield with a propane mix is not advised as it could cause an explosion.
Basic camping cooking – essentials to pack
Campfire cooking involves a bit of preparation. After all, you are only going to have with you what you have carried or what is around you; there’s no popping to the shops for milk halfway through a meal. Essentials to pack include an alcohol based hand sanitiser (for more information on hygiene in bushcraft click here); a washing up cloth and washing up liquid – this can be decanted into a smaller container, there’s no need to carry the whole thing with you; and even some cooking oil – again, carried in a smaller container.
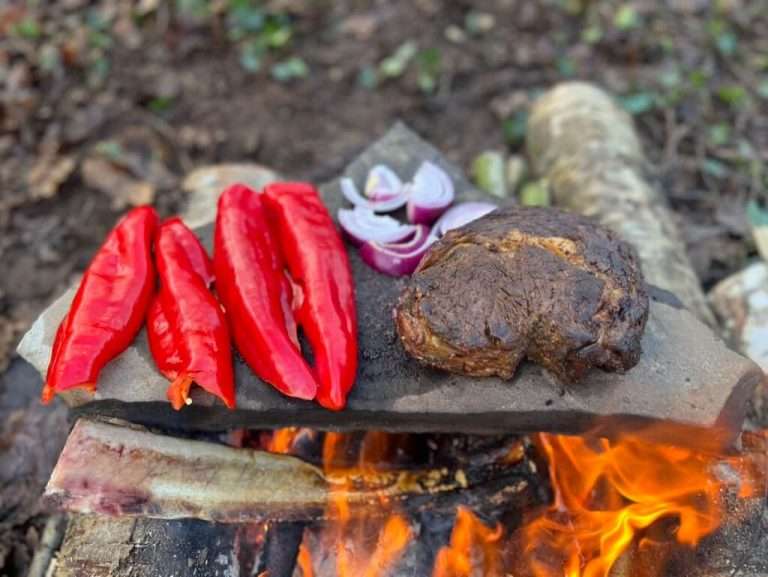
Cooking over a campfire
Cooking a meal over a campfire is a high point when living outdoors, but getting there requires a lot of practice. Successful campfire cooking begins with choosing the correct fire for the job.
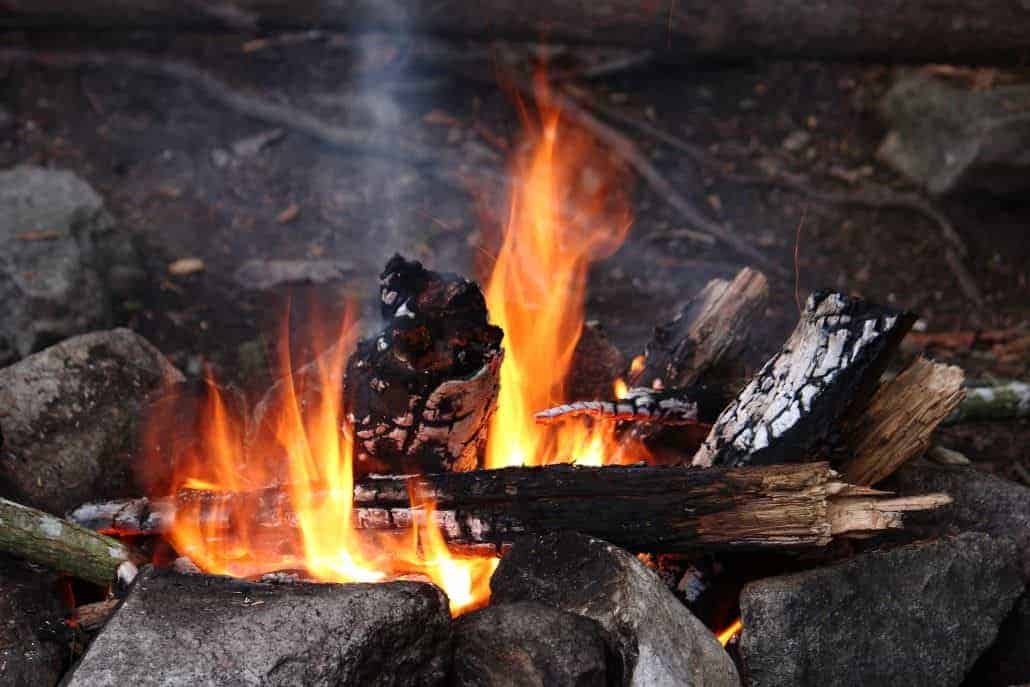
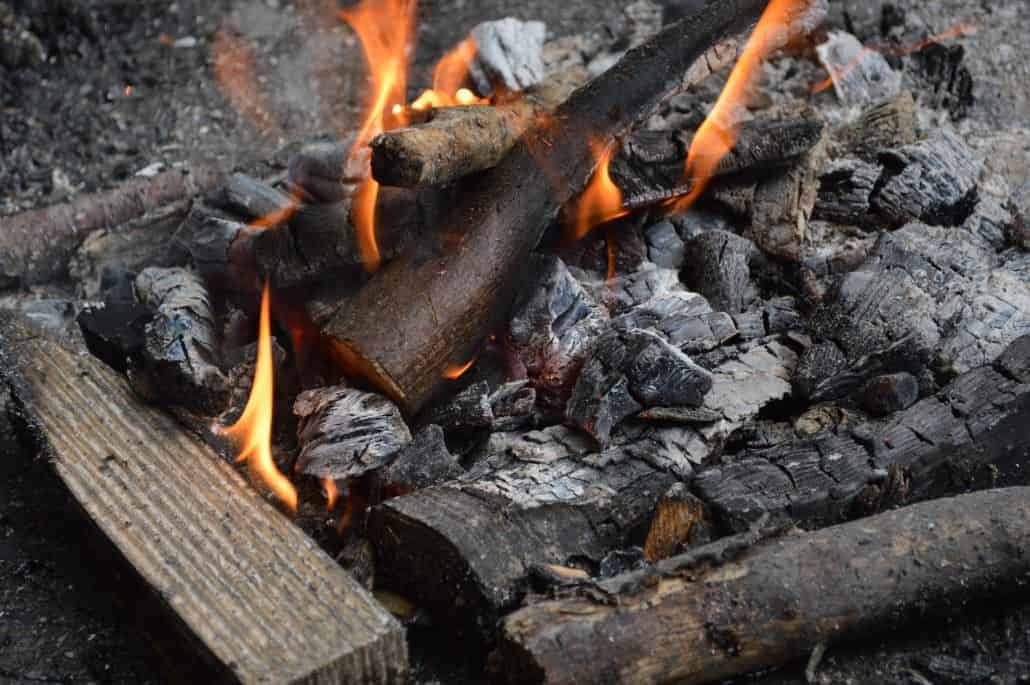
Choosing the correct fire for cooking
Cooking over the campfire requires embers. For the most part, the ‘Indian’ fire, with the embers scraped into the middle, will suffice. In case you missed our blog ‘Organisation in Bushcraft and Camping: Fire, Food and Hygiene‘ then the ‘Indian’ fire is a crisscross of four long, medium sized logs with the ‘front’ end of each log in the fire and the ‘back’ or ‘bottom’ of each log resting on the ground. As the ‘front’ burns the ‘back’ can be fed into the fire.
Remember, after you have finished cooking never bury embers, they can burn for long after they’ve been buried and cause widespread fires, particularly in earth with a high peat content.
Methods of cooking with a fire
Cooking over a campfire doesn’t have to just involve burned sausages, there’s much more to it than that. In the following section, we’re going to take a quick look at boiling, braising and steaming food while at camp.
Why not try your hand at bushcraft cooking with our Weekend Bushcraft course,
click here to book your place.
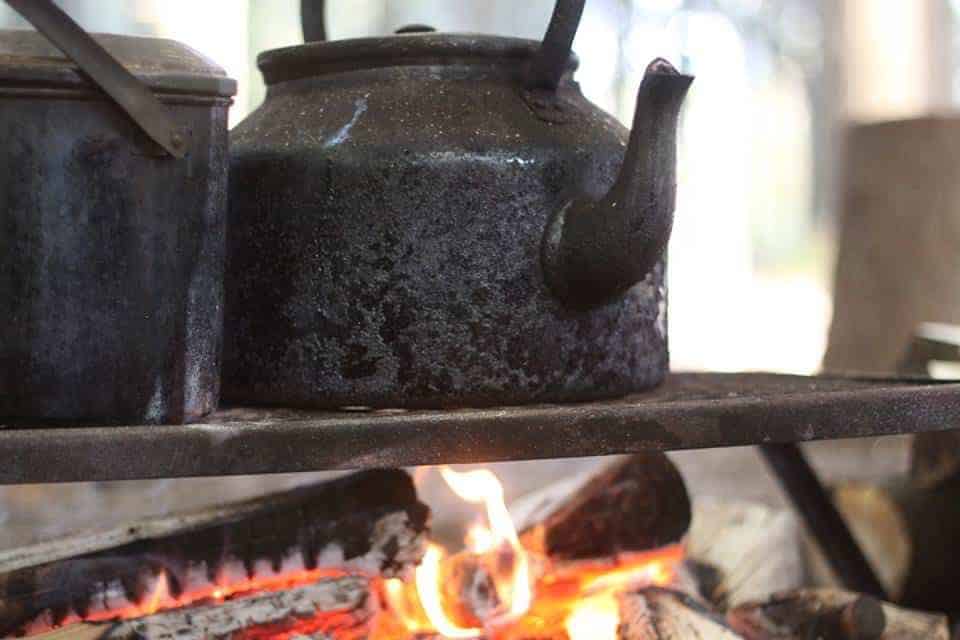
Boiling food at camp
Boiling is an essential skill for outdoor cooking. Not only does it enable you to have the vital cup of coffee in the morning, it’s also a vital ingredient in lightweight backpacking meals. Key to food that requires boiling or simmering, such as stew, is cutting up the meat and vegetables into small pieces. These can then be cooked in a billy can be suspended over the campfire – read on to find out how to create pot hangers.
Braising food at camp
Braising meat can be done in a simple mess tin. If weight is not an issue then you can use a traditional cast iron frying pan for braising. If you’ve any fat, then add it to the meat in the pan, or oil will do if not, and cook over the fire until it is lightly browned. Once the meat has reached this stage then add some water to the pan and place a cover over the top of it – a billy lid will suffice in most situations or improvise with a plate.
Steaming food at camp
Steaming is an enjoyable technique to practice when in a more permanent camp. You can steam food using the lid of a billy can placed upside down, so that you’re cooking in the dip of the lid, over a billy full of boiling water.
Bushcraft techniques for steaming food
However, a more enjoyable way to steam food using your bushcraft skills is by the following method. Wrap the food that you wish to steam in non-poisonous leaves and then wrap this package in mud or clay of a sticky but firm consistency. This bundle can then be buried in the embers of your fire and steamed. Fish is a particularly good food to cook using this method and will cook relatively quickly.
Creating pot hangers for cooking at camp
You’ve got your fire going, your food is all prepared and ready to cook, but you find a method of hanging the pot over the fire. Here are some tips to help you out with creating a pot hanger, note though that you should do this after you’ve got your fire going and not at the last minute.
Constructing a simple pot hanger
This type of pot hanger works well for single pot meals, short stay camps, and tasks such as boiling water.
Materials
Take a long, relatively straight, stick of around six feet in length. Then take two forked sticks, one cut to around six inches in length and the other to around two feet.
Construction
Place the longer forked stick with the fork facing skyward relatively close to your fire. The long, straight, stick rests in the middle of the fork with one end on the ground and one sticking out over the fire. Then, take the small, six inch, forked stick and use the forks to pin the end of the longest stick to the ground – tent pegs could also be used.
Finished result
You should now have the long stick with one end firmly pinned to the ground the other sticking out over the fire at a roughly 30-degree angle from the ground.
Then, taking a third forked stick, attach it to the end of the long stick that protrudes over the fire. The forked end should face towards the ground with the fork itself facing skywards in an upwards ‘V’. Attach the non-forked end to the end of the long stick that protrudes over the fire using paracord or the like and then hang your billy can over the fork.
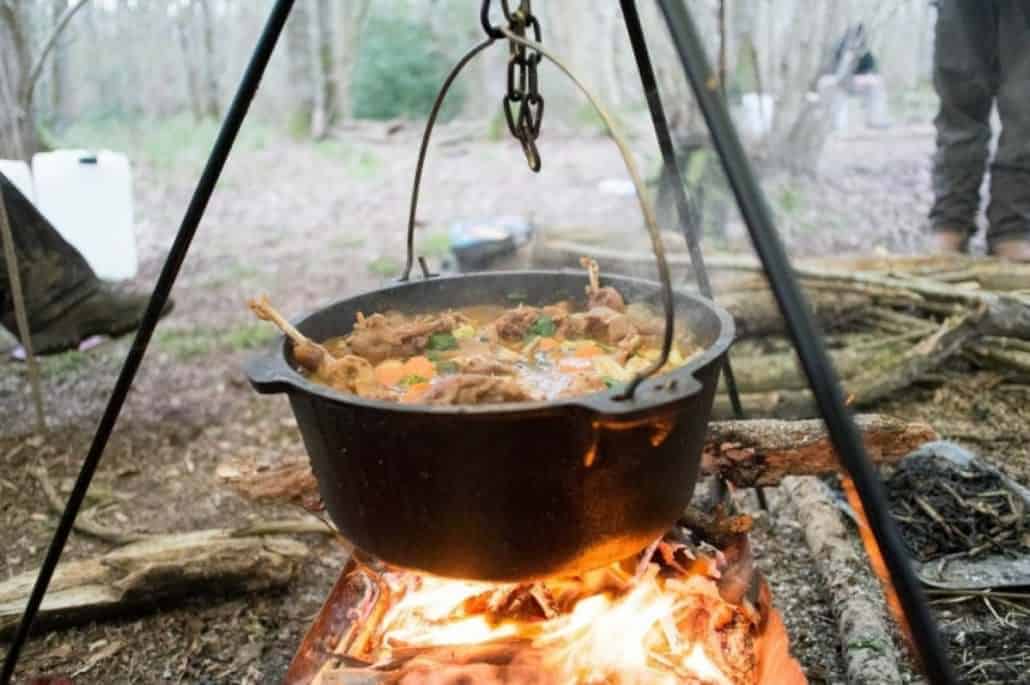
Constructing a tripod pot hanger
The legs of your tripod can be constructed from three large and relatively straight sticks. In the centre of these three sticks will be a forked fourth stick. Tie the tripod and centre stick together with paracord or natural cordage.The fork of the fourth stick should face downwards from the middle of the tripod towards the fire. The pot in which you are cooking hangs from the fork, suspending it above the fire. Therefore the sticks that form the tripod want to be slightly longer than the one with the fork. They need to be tall enough to suspend the pot out of the fire but not so tall so that the pot is too far away from the fire.
Campfire cooking for the family or a small group
Cooking over the campfire can be a great way of getting young children interested in bushcraft and the outdoors. Encourage them to get involved with the whole process, from preparing the fire through to cooking and it will not only provide them with an activity when camping but it will also encourage them to respect the fire and will probably ensure that they enjoy the food! Sign up for our Family Bushcraft Course here.
If you want to know more about getting children involved in bushcraft then ‘Bushcraft A Family Guide’ is for you. Written by Wildway Bushcraft’s instructors – John Boe and Owen Senior this illustrated guide is packed with essential information, tips and hints to help all the family make the most of their time together outdoors.
Order your copy from Amazon here.
Cooking for a group
When cooking for a group at camp one of the most important things is the scalability of your recipe. Freshly caught and cooked trout, for example, might sound delicious, and indeed it is, but you need to make sure that you have the ability to catch the required number and a backup plan of what to do if you don’t.
Choose scalable recipes
As at home it is at camp. The easiest way of cooking for a group is to select recipes that are easily scalable, for example, stews or simple curries. The only addition that is needed as your group grows or shrinks depending on activities is extra vegetables thrown into the pot.
Join our Weekend Bushcraft course to learn more about bushcraft cooking and cooking for the camp, click here for more information.
How to make sure that your campfire leaves no trace
One of the most important principles of bushcraft is respect for the environment. This includes making sure that your fire leaves no trace. Not only is this to ensure that our fire has well and truly gone out, it is also to preserve our wonderful environment for the enjoyment of others, now and in the future. Hacking down live trees, leaving visible fire sites littered with debris is not bushcraft – it is just mindless and destructive behaviour.
Leaving no trace begins with proper preparation
Before you light your fire you should ensure that the ground beneath it is stripped back to bare earth as much as is possible. This will help prevent scorching of the ground and any grass etc. catching fire.
Pay attention to what is going on
Think about what you need your fire for and for how long you need it. If you’re likely to be moving on at any point soon then stop adding extra wood to it, likewise if your fire is just for cooking – as opposed to keeping warm – then you don’t need to create a roaring bonfire.
Add water to the embers
Once your fire has burnt out and cooled add plenty of water to the embers, the ground beneath them and the immediate surrounding area. Once you’ve done this break up the embers into small pieces and then scatter them across the area around your camp.
Cover the area where you had your fire
Once you’ve scattered the embers around the surrounding area then use the previously removed material to cover the spot where your fire was.
Practice bushcraft cooking for the camp
The best way of practicing bushcraft cooking in the UK is to sign up for a course at a bushcraft school. At Wildway Bushcraft we offer a weekend bushcraft course which covers all the basics of bushcraft and survival skills.
The course is suitable for adults and children and is a great way to spend time with friends.
On the course, you will learn a number of basic bushcraft skills including;
- Campfire cooking
- Fire lighting
- Shelter building
- Water sourcing
and much, much more.
For more information, click here.