Making your first bow drill
Being able to use a bow drill to create fire is a cornerstone of bushcraft. This method of making fire by friction has been used by humans since prehistoric times since the 4th or 5th millennium BC. The mechanical element of the bow drill gives an advantage over other methods of friction fire lighting, such as the fire plough.
In this latest blog, we will help you to construct your own bow drill from scratch. Read on to learn more.
Making your own bow drill
Like most things in bushcraft, constructing your own bow drill begins with a deep understanding of the natural world. Being able to identify the trees and understand how and when the different woods from each can be used is a cornerstone of bushcraft.
Understanding the component parts
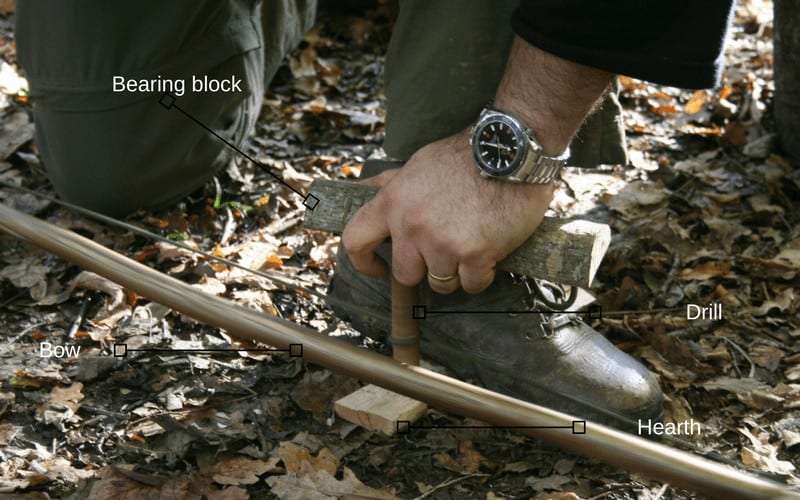
A bow drill is composed of the following parts:
- The drill
The drill is the piece of the bow drill that comes into contact with the hearth and bearing block. It is rotated by the bow itself and more specifically the cord attached to the bow. - The hearth
The hearth is the piece of wood that the drill rotates into, it is a rectangular block in which the drill sits and where the embers are produced. - The bearing block
The bearing block is the piece of the bow drill in which the drill sits. It should be carved so that it fits into the palm of your hand. - The bow
The bow is the part of this friction fire lighting device which gives the bow drill its name. The cordage or string that you will be using will be attached to this bow, like on a hunting bow. Unlike a hunting bow, the bow on a bow drill should be slightly curved with as little spring in it as possible. The bow gives the bow drill its mechanical advantage.
The image below shows the component parts in more detail.
Choosing wood

Bushcraft is about living in harmony with nature, not overcoming it. It is about so much more than just survival. Being able to identify and choose woods for a bow drill is a key part of bushcraft, as is choosing wood for your shelter, spoon or anything else that you need to make while living in the woods.
What follows is a list of woods that are suitable for making a bow drill. This list is not exhaustive and is limited to UK woods. The best way to find out what woods work for you is to experiment. Try a mixture of woods to find out what works for you.
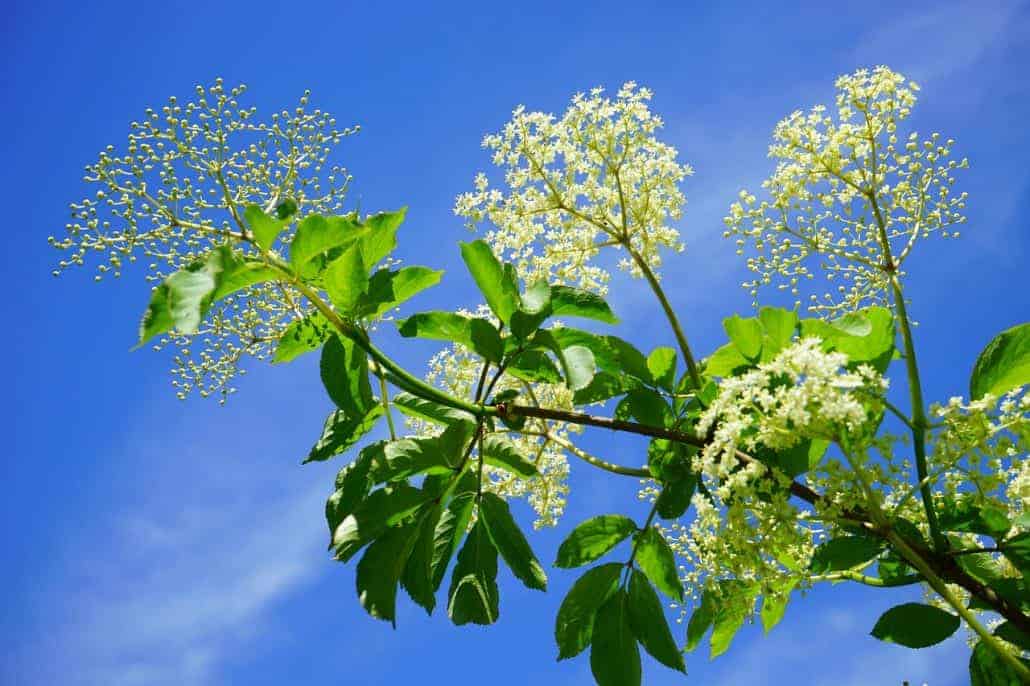
- Elder (Sambucus nigra)
- Willow(s) (Salices)
- Hazel (Corylus avellana)
- Silver Birch (Betula pendula)
- Field Maple (Acer campestre)
- Sycamore (Acer pseudoplatanus)
Learn more about these trees in our blog Choosing Wood for a Bow Drill.
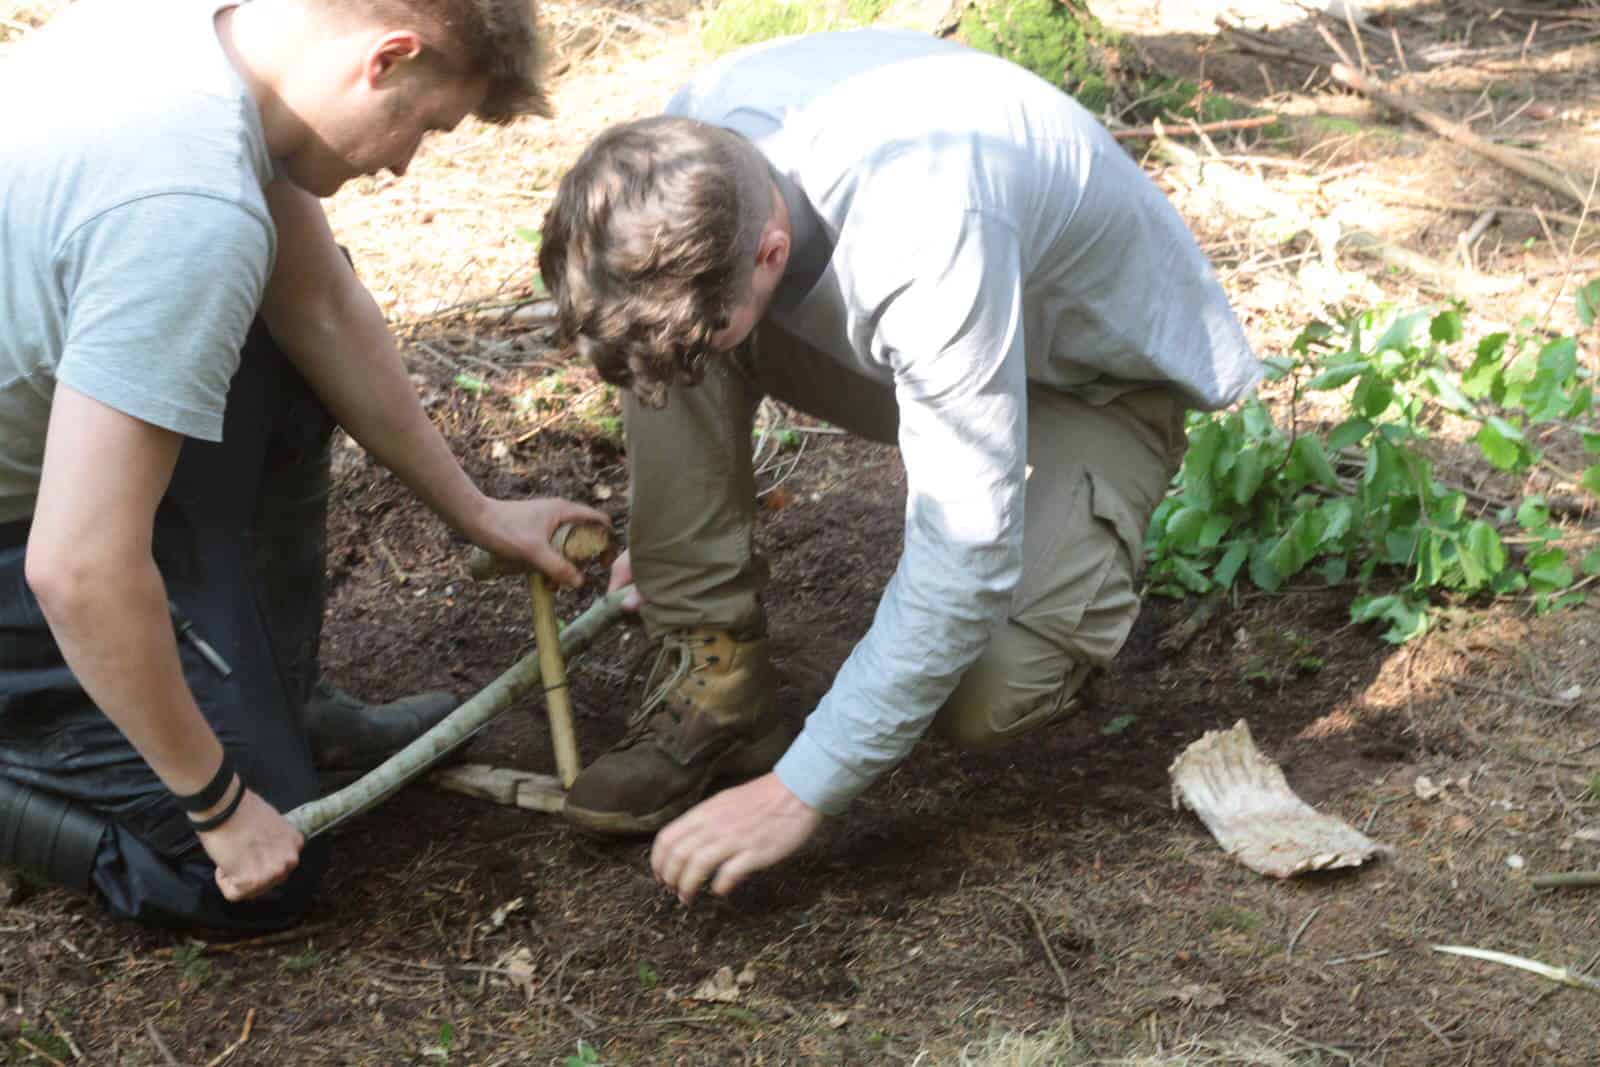
Carving your bow drill
A bow drill works, as with all friction fire lighting techniques, by rubbing two combustible materials against each other until the material is taken beyond its auto-ignition temperature. In order to do this, it is important to carve the component parts of the drill correctly.
The drill
The drill should be around 20 cm in length. It should be around 2-3cm thick and as straight as possible. One part of the drill will be in contact with the hearth and the other in contact with the bearing block. The end of the drill that is in contact with the hearth needs to be carved into a blunt point, while the end in contact with the bearing block needs to be carved into a sharp point. The bluntness of the hearth end increases the amount of friction being generated. The sharp point reduces the amount of friction being generated in contact with the bearing block.
The hearth
The hearth should be about 40mm wide, 5 mm thick and around 30 cm long. Once the bow drill has been made, the hearth should be broken in by rubbing the drill into the hearth until a charred depression has been created. Once this has been satisfactorily achieved you need to cut the notch. This should be a straight ‘V’ extending from the depression to the outside of the hearth. Underneath the notch, place a piece of bark to catch the coal and the embers.
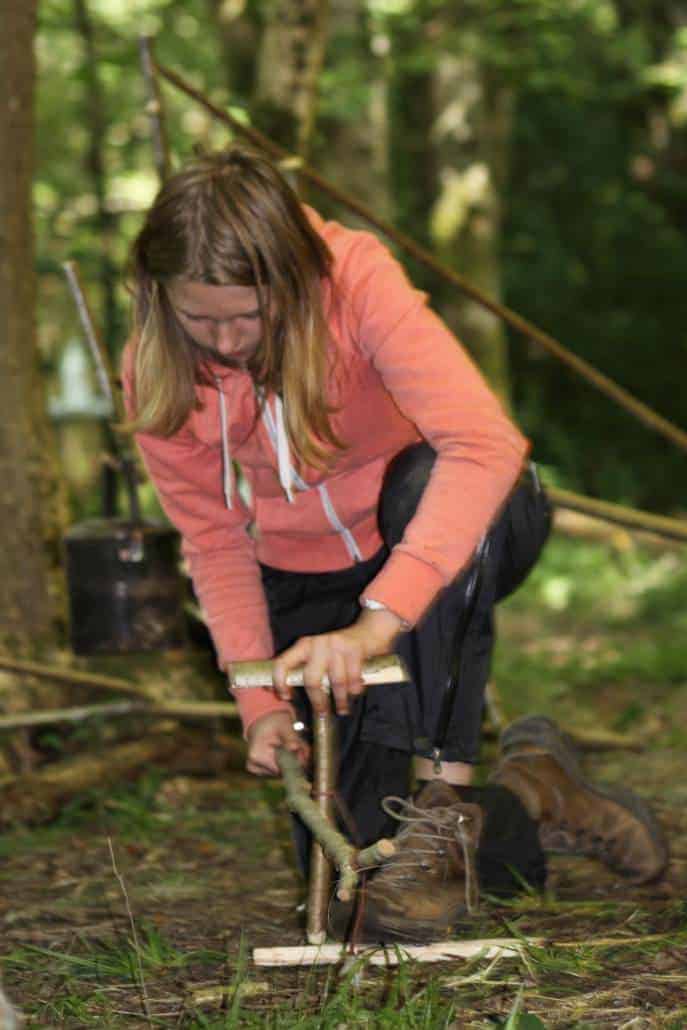
The bow
The bow, as mentioned, should not be springy. It can be made of any wood that you like and should be about the length from your fingertips to your sternum. The cordage can either be made of any string that you have at hand, or you can make the cordage yourself – you can learn about making cordage on our intermediate bushcraft course.
The bearing block
The bearing block works best if carved in hardwood. It should be big enough to fit comfortably in your hand. Carve a small depression into it for the pointy end of the drill. There needs to be as little friction as possible between the drill and the bearing block. Waxy leaves such as holly can be rubbed into the bearing block in order to reduce friction.
Learn the art of friction fire lighting on our weekend bushcraft course