Friction Fire Lighting in the UK – an Introduction
Friction fire lighting might be one of the most important bushcraft skills. Along with shelter building and the ability to source food and water, friction fire lighting is one of the basic building blogs to not only survival but also living comfortably in the woods.
The best way to learn friction fire lighting is to sign-up for a course with an experienced bushcraft instructor. Wildway Bushcraft offers a one-day friction fire lighting course – we run these courses whenever you like – just get in touch and let us know when suits you. Find out more information here.
In this blog, we introduce you to friction fire lighting, provide a brief history of this age-old skills, teach you some tips for identifying suitable woods and how to get children involved in friction fire lighting. Feel free to read the whole blog or skip to the section that interests you the most.
- Friction Fire lighting the origin of civilisation
- Woods for friction fire lighting
- Getting started with the bow drill
- Getting started with the hand drill
- How to practice at home
- Children and friction fire lighting
Friction Fire lighting the origin of civilisation
Friction fire lighting is nearly as old as humankind. Fire gave us the origin of our civilisation, evidence of deliberate exploitations of areas for fires dating back nearly 1.5 million years have been found in Africa, there are even suggestions that friction fire lighting could go back to an earlier date than this.
Two types of friction fire lighting techniques
Essentially, there are two types of friction fire drills, that is the bow drill and the hand drill. We will be looking at the bow drill in more detail later this month, so keep your eyes open for that blog post. In it, we will show you how to source wood, carve it into the shape that you want and it will even take a look at using natural cordage.
If you would like to learn more about friction fire lighting sign up to our one day course.

What’s the difference between the hand drill and the bow drill
The bow drill is, as the name suggests, a technique of friction fire lighting which involves ‘drilling’ one piece of wood into another by means of spinning it using a ‘bow’. A hand drill, again as the name would suggest, involves using your hands (as opposed to the mechanical advantage of the bow) to drill one piece of wood into another.
Woods for friction fire lighting
Friction fire lighting begins and ends with choosing the correct woods. Choosing an unsuitable wood will mean that your efforts are doomed to failure before they’ve even begun. In the sections below we look at suitable woods for the bow drill and the hand drill.
Woods for bow drill
In this blog, we’re only going to be focusing on European woods. The best ones for bow drills are;
Elder
Field Maple
Willow
Hazel
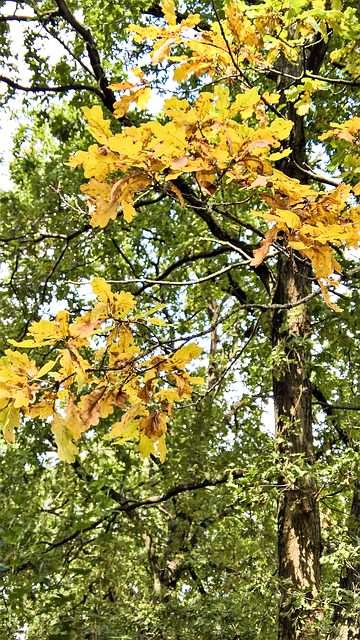
Oak
Popular
Yew
Sycamore
(this is not an exhaustive list and there are lots of other woods that could be suitable for making a bow drill).
It’s important not to use green wood when making your bow drill, these are too wet and won’t help you to produce heat. Ideally, you need dead wood that has not yet started to decay.
Woods for hand drill
The following European woods are suitable for making a hand drill. Experiment with different combinations and see what works for you and of course, what is available in the environment in which you’re practicing.
Elder
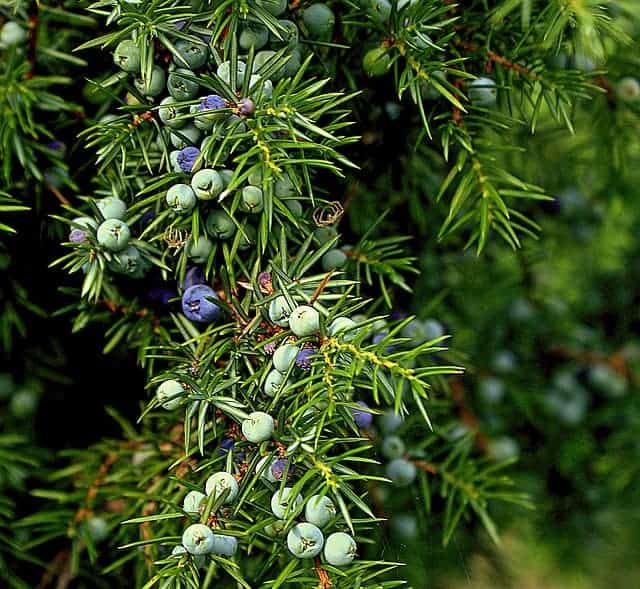
Juniper
Pussy willow
Sycamore
Getting started with the bow drill
Remember, practice makes perfect. One of the best ways of getting started or even perfecting your technique is to take part in a friction fire lighting course.
Anatomy of the bow drill
Not including the bark slab on which to collect the embers the bow drill is essentially composed of four main parts – the bearing block, the drill, the bow and the hearth.
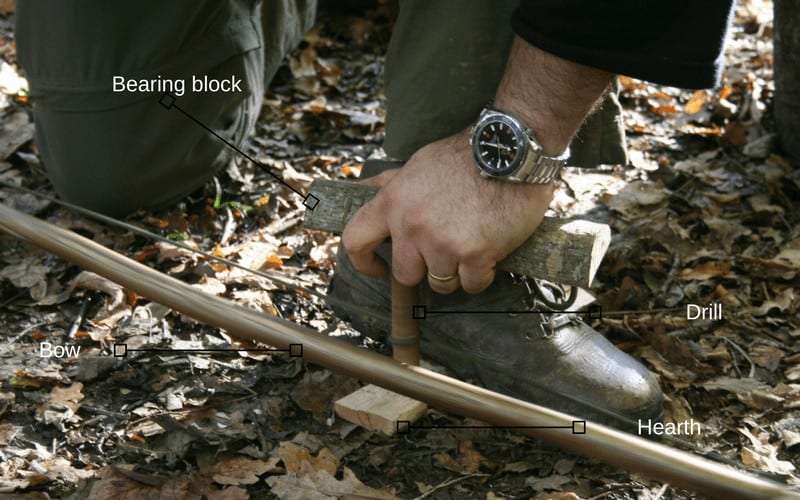
The hearth and the drill should be carved from the woods that we’ve discussed above, the bow and bearing block can be made of any wood that you want to use.
The drill
The drill should be as straight as possible and ideally be between 2cm and 3cm in diameter and 20cm or so in length. The end that is making contact with the hearth e.g. the end that is creating friction needs to be a blunt point in order to maximise contact. The other end of the drill e.g. the end that is in contact with the bearing block needs to be carved into a sharp point – this will help it to reduce the friction against the bearing blog, making it easier for you.
The hearth
The hearth is essentially a rectangular block made of the same wood as the drill. It needs to be about 5mm thick, 40mm wide and a minimum of 30 cm long.
The bow
The bow can be made of any wood that you have at hand. It shouldn’t have much spring in it, and should be a bit longer than the length of your arm. For the purposes of this blog we’re going to assume that you’re using paracord – but we will be looking at natural cordage in next week’s blog so stay tuned.
The bearing block
The bearing block needs to be carved to fit comfortably in your hand. As with the bow it can be made of any wood that you have at hand. Carve a small depression in it for the pointed end of the drill that we discussed earlier.
Preparing your bow drill set
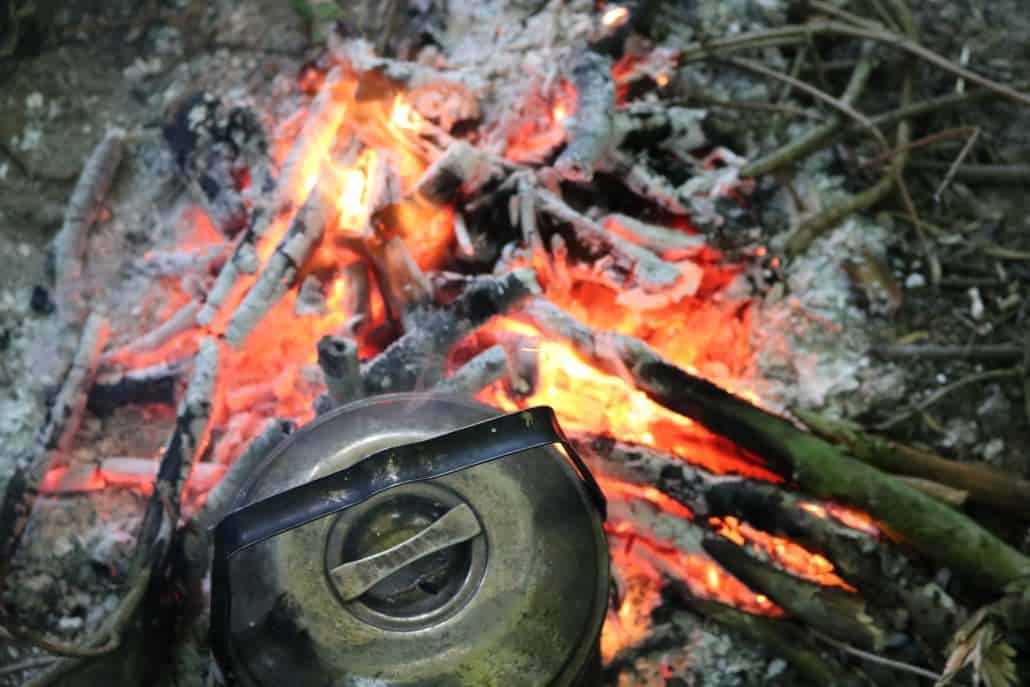
The next step is preparing the hearth board. Carve a small depression into the board about 4cm from the end (it doesn’t matter which end). Using the drill (see the photo at the start of this section) rotate the drill until the depression that you have recently carved begins smoking.
Carving the notch
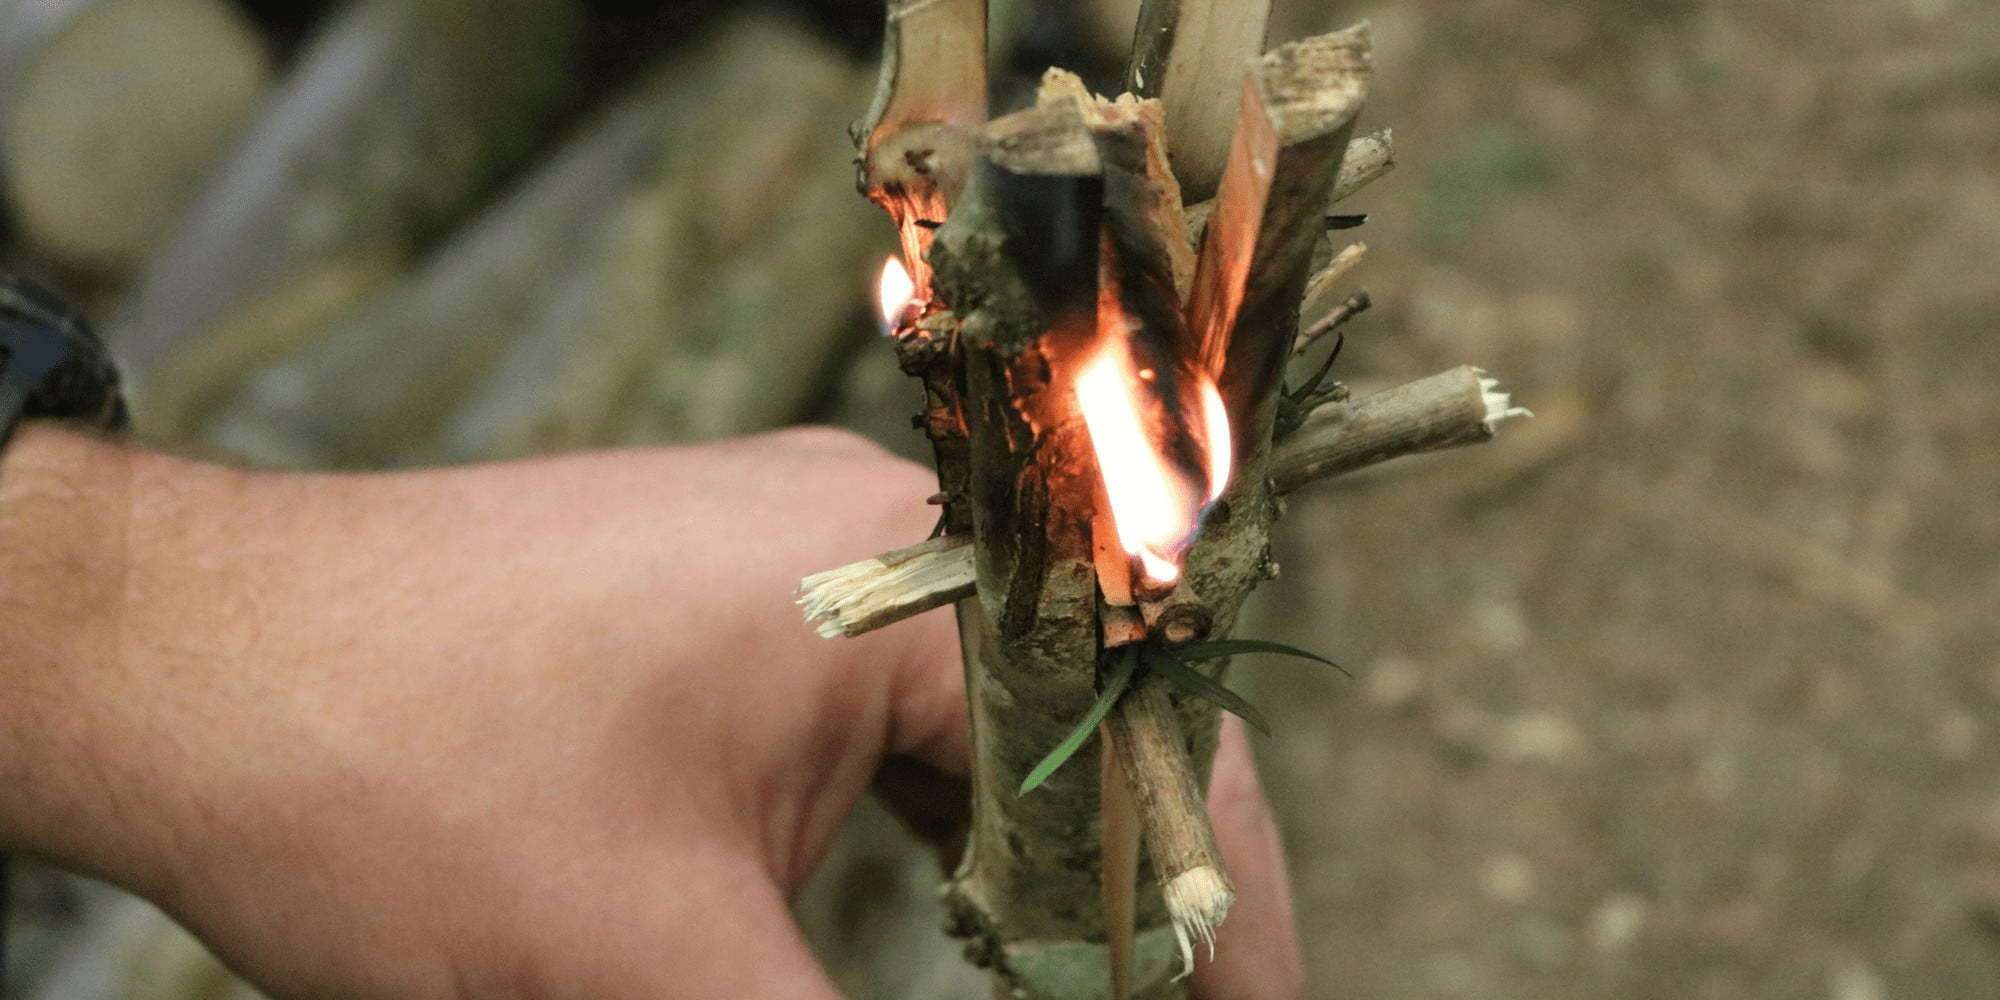
The next step is critical to success. Cutting a notch in the hearth enables the hot dust that you are creating in the depression of the hearth to gather and collect in one place. The notch should be a basic V shape, extending from the outside of the board to the depression. Place a piece of bark under the notch, allow the embers to collect there and then you’re ready to ignite your tinder.
If you’re having trouble getting an ember with your bow drill then read our blog on troubleshooting your bow drill technique.
Getting started with the hand drill
As with the bow drill, practice makes perfect for the hand drill. One of the best ways of getting started or to perfect your technique is to join us on our one day friction fire lighting course.
Join us on our one-day friction fire lighting course – click here.
The hand drill works on the same principles as the bow drill e.g. with friction. While the hand drill is easier to make than the bow drill, it does lack mechanical advantage and therefore is harder to master.
The drill
The length and width of your drill will come down to personal preference, experience and the type of wood that you are using. The drill should be around 40 cm to 75 cm long with a diameter somewhere between 9mm and 13mm. The drill, whatever the length, needs to be as straight as possible.
The hearth
The hearth should be made of one of the woods that we identified earlier in this blog. It should be made in a similar fashion to the hearth of the bow drill but made slightly shorter. Ideally, the hearth shouldn’t be too thick, around 1.5 cm should be enough.
The theory
Spin the drill between your hands applying a downward pressure into the hearth. As the smoke appears, increase the speed with which you are rotating the drill until you have produced a small ember.
If you want to learn more about friction fire lighting sign up to our one day course.
How to practice at home
A garden then it is a great place to practice friction fire lighting before heading out into the woods. When walking, look for suitable materials – practice carving them into the correct shape and applying the techniques at home.
Children and friction fire lighting
Friction fire lighting is a fun way to introduce children to more advanced elements of bushcraft. This does’nt mean that children have to make their own bow drills but you can start by introducing them to the appropriate trees.
Learn more about friction fire lighting – sign up for our one day course here.