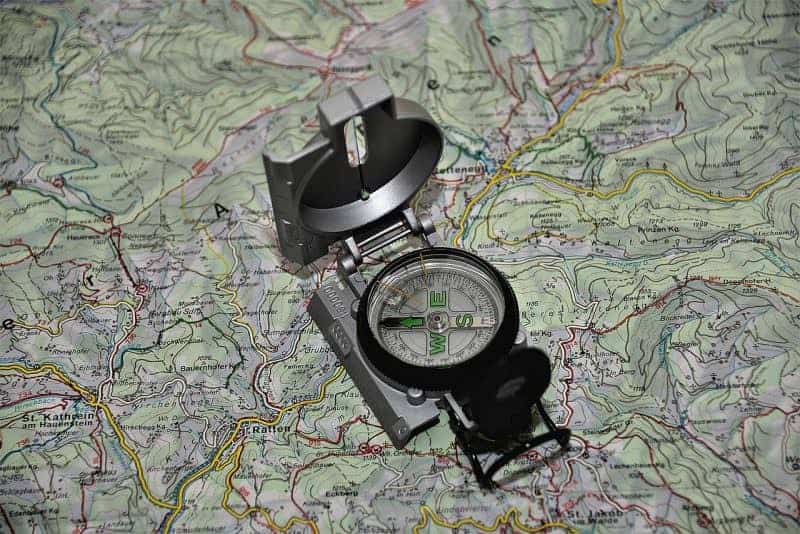
Navigate Without a Map
The abilities to find north, navigate short distances and tell the time of day without a map, compass or watch are key bushcraft skills. In this latest blog, we will look at we will introduce you to these skills and show you how you can get started in navigating without a map or compass.
As always, feel free to read the whole blog or skip to the section that interests you the most.
Why not join our Facebook group Wildway Bushcraft – Bushcraft tips and advice. Here you can ask questions about bushcraft and meet like-minded people.
Click here to join our Facebook group.
Navigate without a map: how to find north
The ability to find north without a compass when out in the woods is a key bushcraft skill. In the following section, we’re going to show you some different ways of finding north when you are out in the woods. First though, a word on the different kinds of north.
Grid north, magnetic north and true north
There are, essentially, three different types of north. Grid north is the direction of the grid lines on your map, magnetic north is the direction indicated by a magnetic compass while true north is north on a longitudinal line that converges on the North Pole. For more information about the differences between grid, magnetic and true north see the Ordnance Survey site here.
Why does this matter?
Over an extended distance, magnetic variation will start to matter, likewise, it’s a good idea to factor it in when walking on a bearing in the Scottish mountains in a whiteout. However, when trying to navigate using natural features then it’s almost impossible to be accurate enough that it will matter when you try to relate the bearing you’ve taken from natural features to the lines on the map.
Finding north using the sun

Despite what you might read about finding north using an analogue watch, this method is, in reality, far from reliable. An easier way of finding north is by using a shadow stick. Place the stick in the ground and mark the tip where the shadow ends. Wait about 15 minutes or so then mark the new position of the shadow tip. Draw a line between the first marker and the second. Stand with your left foot on the first marker and your right on the second marker, you’re now facing in a northerly direction.
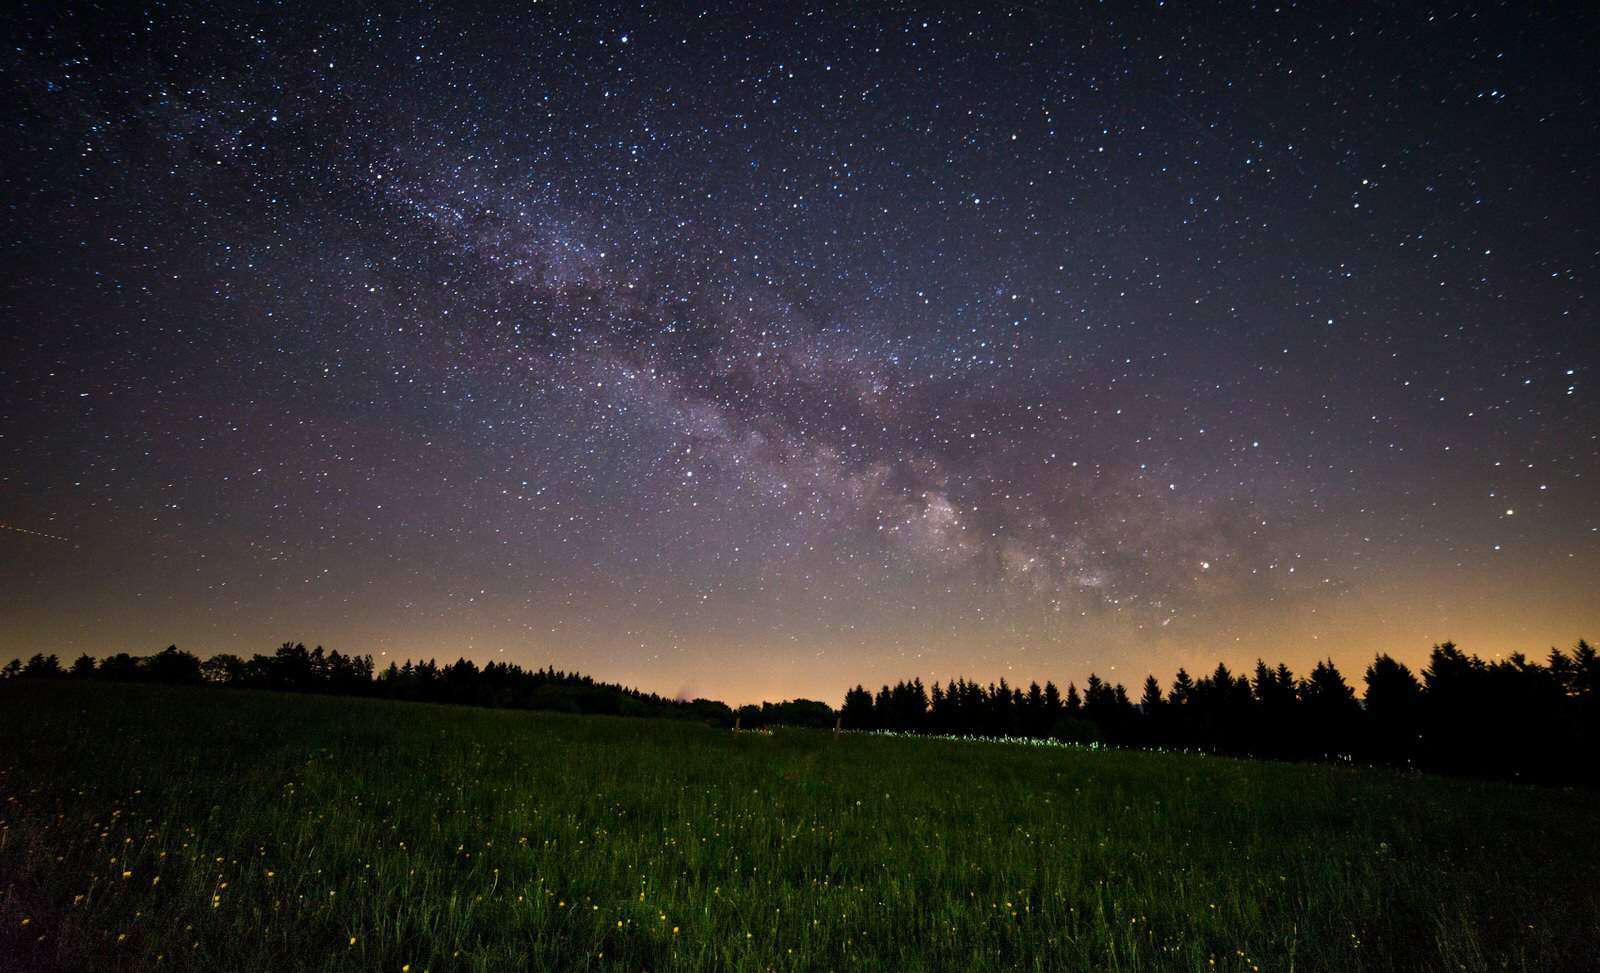
Finding north using the stars
Keep in mind that this blog is written for those of us in the Northern Hemisphere, and the UK in particular. For those of you in the Southern Hemisphere finding north using the stars is a very different matter.
As you might remember from Scouts or the like, the key to finding direction by using the stars is by locating the North Star.
How to locate the North Star
In order to locate the North Star, you first need to find the constellation known as ‘the plough’, ‘the saucepan’ or, for the Americans, ‘the big dipper’. What you’re actually seeing is the seven brightest stars of the constellation Ursa Major, but it doesn’t really matter what you call it as long as you can identify it.
Remember, the Plough rotates around the North Star so will sometimes look like it is upside down. However, this doesn’t change how you can find the North Star.
The North Star, or Polaris, sits directly over the North Pole. In order to find it is to go straight up from the two stars that make the ‘edge’ of the ‘saucepan bowl’ for about five times the distance that these two stars are apart. This will lead you to a bright star on its own. This is Polaris or the North Star, and there you are, you’ve found North.

Navigate without a map: calculating pace and distance

Calculating pace and therefore distance covered is key to successful navigation without a map or a compass. In our blog last week we looked at how to judge distances without a map, knowing the distance you are from an object you then need to be able to calculate how long it will take you to walk that distance. This is particularly important if the light is fading or weather conditions are worsening, you need to be able to judge if you will be able to reach your objective in time or if it is better to stay put and wait it out. Perhaps the best-known method for calculating distance is by using Naismith’s rule.
Naismith’s rule
Naismith’s rule is a rule of thumb for judging pacing when out walking. It was originally devised by the Scottish mountaineer William W. Naismith in 1892. The basic principle of Naismith’s rule is that each 5km takes one hour to walk, for every 600 metres ascended during that hour add an additional one hour. Another way of looking at it is an hour for every 5km with an additional minute for every 10 metres of ascent (this would be one contour line on a map but you will need to judge ascent yourself if you don’t have a map).
Modifications to Naismith’s rule
Weather, weight carried, terrain, conditions underfoot and fitness of your party can all impact on Naismith’s rule. Generally speaking though when walking on rough or hard terrain alter the pace from 5km per hour to 4km per hour, a strong headwind will reduce this further to around 2km per hour. Walking with a heavy pack will also cut your speed on flat ground to around 50% of your unladen speed.
Telling the time of day
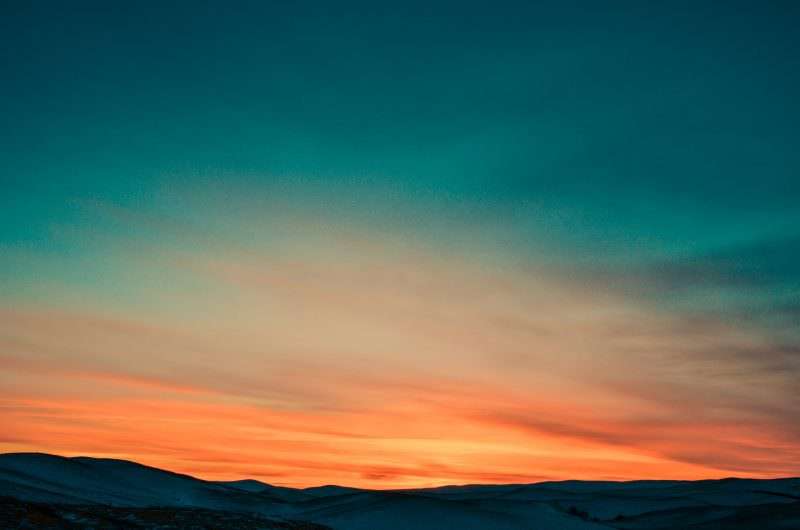
Now you can estimate the direction in which you are traveling, the distance (see our earlier blog), and how long it will take you, you need to know the time of day. Knowing the current time (without a watch or phone) and the time of sunset will let you work out whether you have time to make the distance of whether it will lead to you being benighted.
Estimating the remaining time before sundown
A handy little trick to estimate the amount of time you have left is to measure, in terms of horizontal fingers, the distance between the sun and the horizon. Extend your hand out in front of you so that your palm is facing across your body with your little finger horizontal to your feet. Remove or add fingers until your palm covers the gap between the horizon and the sun. Each finger represents about 15 minutes, so four fingers represent an hour.
Direction of the sun in the sky
The sun rises in the east (roughly) and settles in the west (again roughly), at midday the sun will be directly overhead. Therefore, knowing what time sunrise is and being able to see the current position of the sun in the sky will enable you to make a rough estimate of the current time of the day.
Coming up
Next week we will be looking at how to navigate accurately on the UK’s rivers. In the meantime, why not join our Facebook group for bushcraft tips, advice, and discussion.
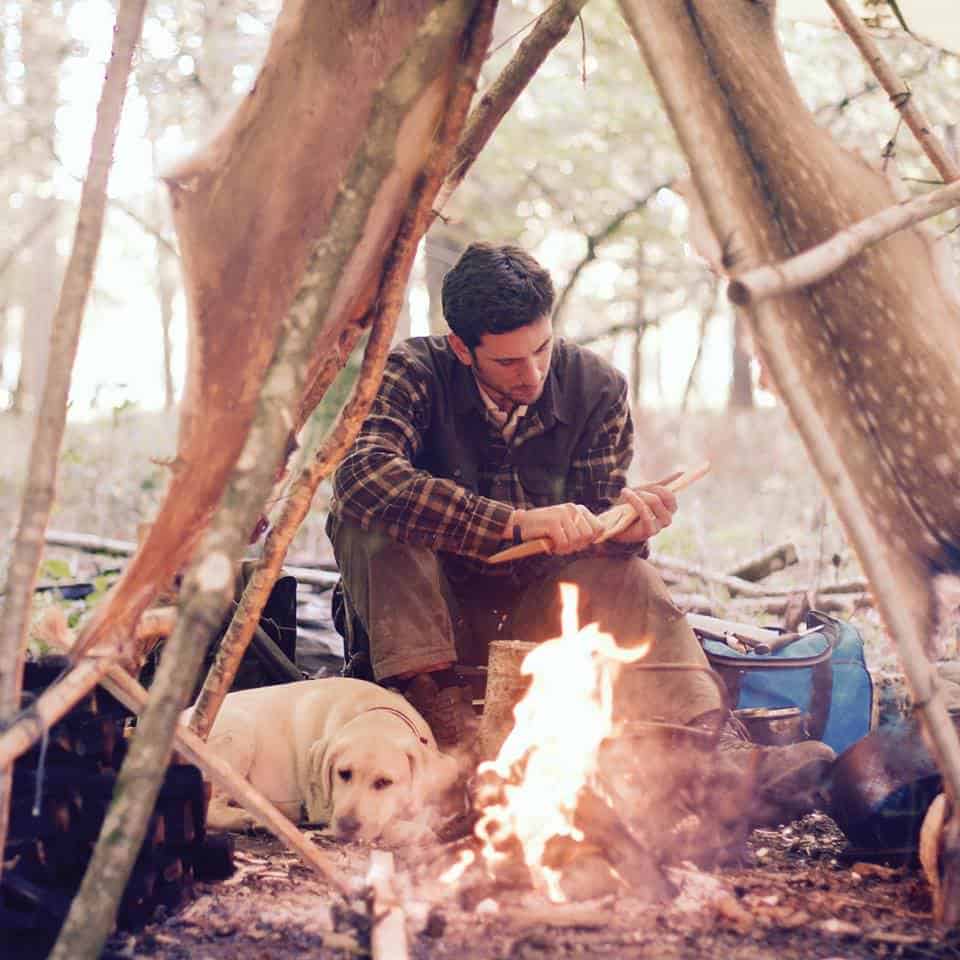
Learn more about natural navigation, foraging, water sourcing and other bushcraft skills in our weekend bushcraft course.
Click here for more information.