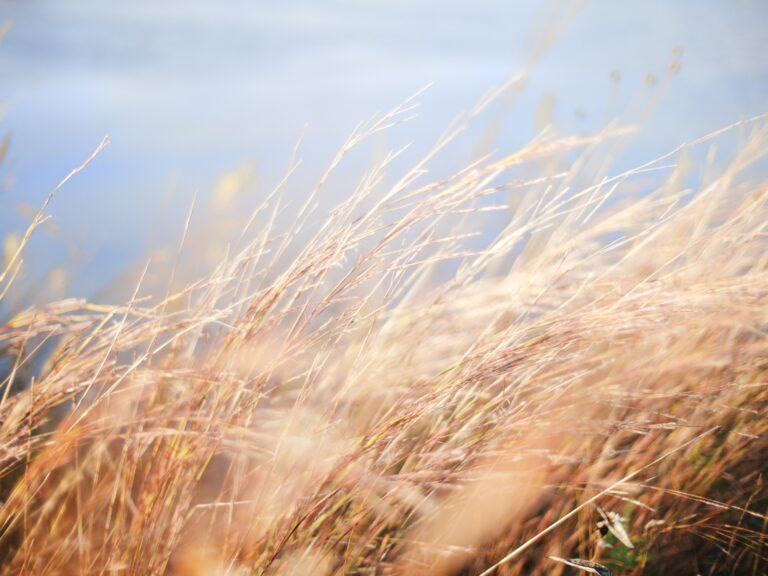
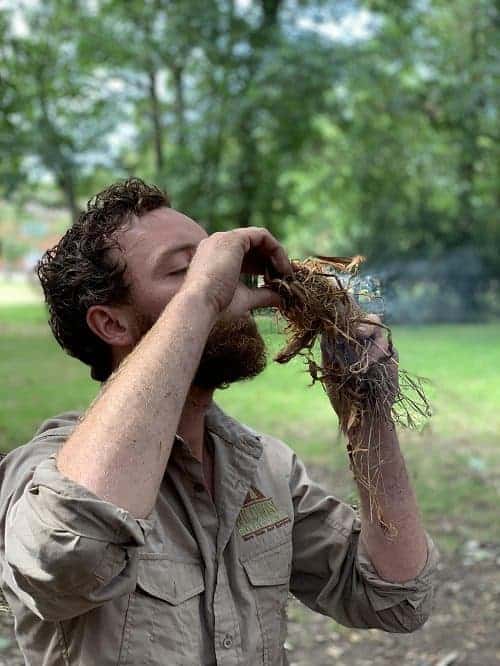
Natural Tinder
In the world of bushcraft, fire is an essential element. It provides warmth, light, a means of cooking, and the ability to purify water. One of the key skills to…

In the world of bushcraft, fire is an essential element. It provides warmth, light, a means of cooking, and the ability to purify water. One of the key skills to…
The distinctive Silver Birch (Betula pendula) is not only a beautiful sight amongst the woodland, heath and plantations, but it has some fantastic bushcraft uses too. Its distinctive white/silver bark…
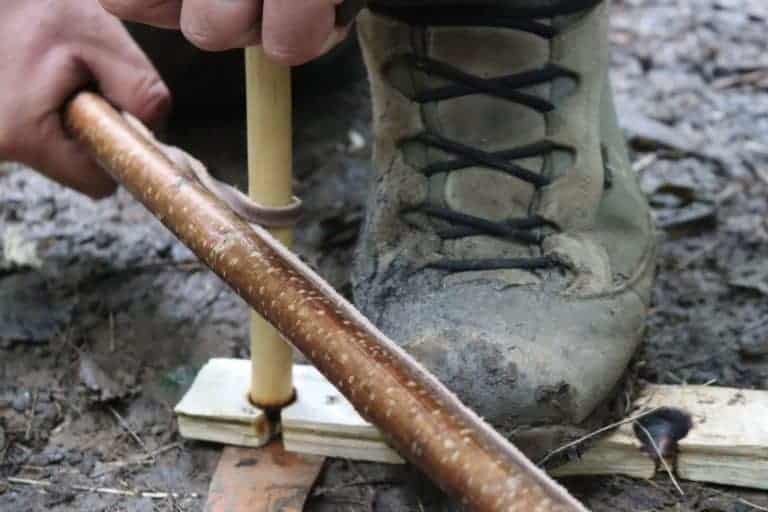
Making a Bow Drill Set Being able to create fire by friction is a fundamental skill in bushcraft. Not only is it a fire lighting method that has been used…
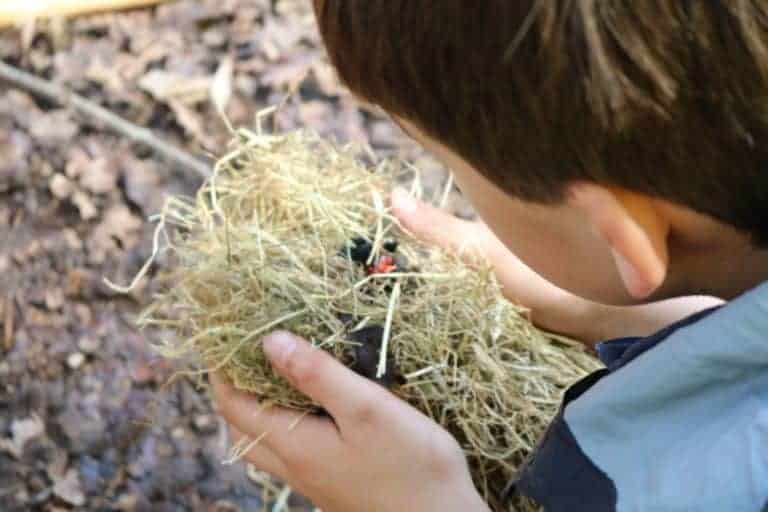
Introducing Your Family To Bushcraft Daily family life can be hectic. Rushing to work, school runs, clubs, pressures from bosses and meeting family needs can leave you all stressed and…
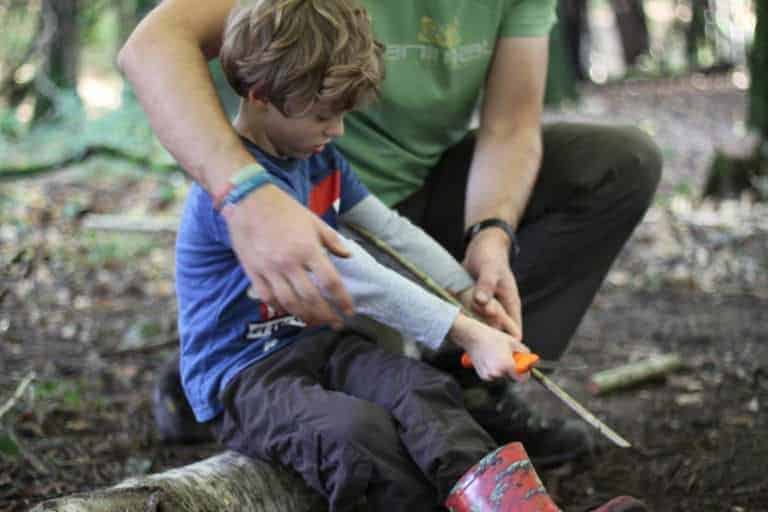
Introducing Your Family To Bushcraft Daily family life can be hectic. Rushing to work, school runs, clubs, pressures from bosses and meeting family needs can leave you all stressed and…
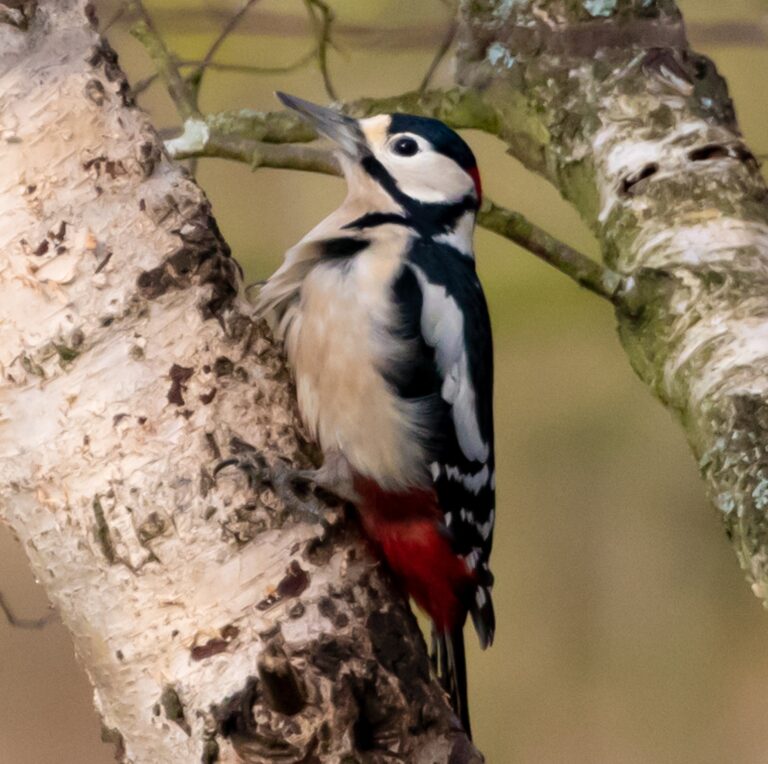
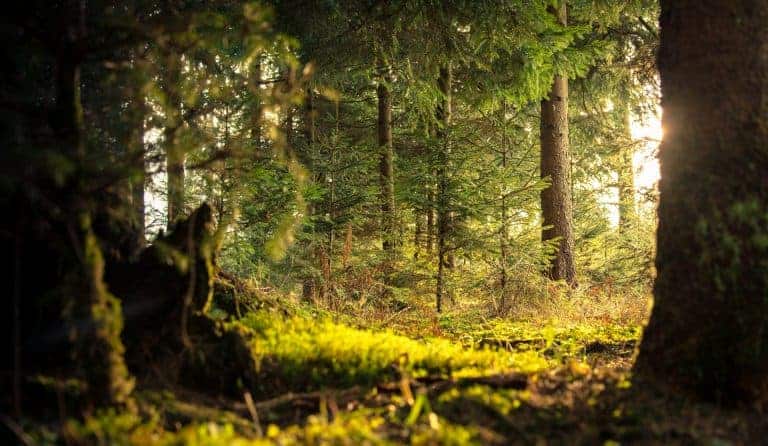
Identifying Trees In Winter- A Beginner’s Guide The most common way to identify trees is by looking at their leaves. We do it without even realising it, after all, it’s…
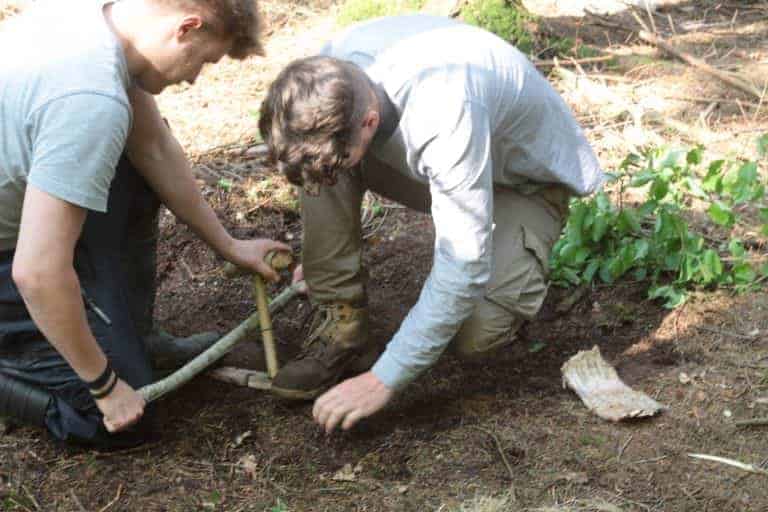
Learn how to make a bow drill in this blog from Wildway Bushcraft.
Introduction to Friction Fire Lighting: Bow Drills and Hand Drills The history of friction fire lighting is bound up with the history of human civilisation. The ability to light…
Bushcraft is about more than just survival. It is about living in harmony with nature. It is about understanding the natural world around you and how it can be used…
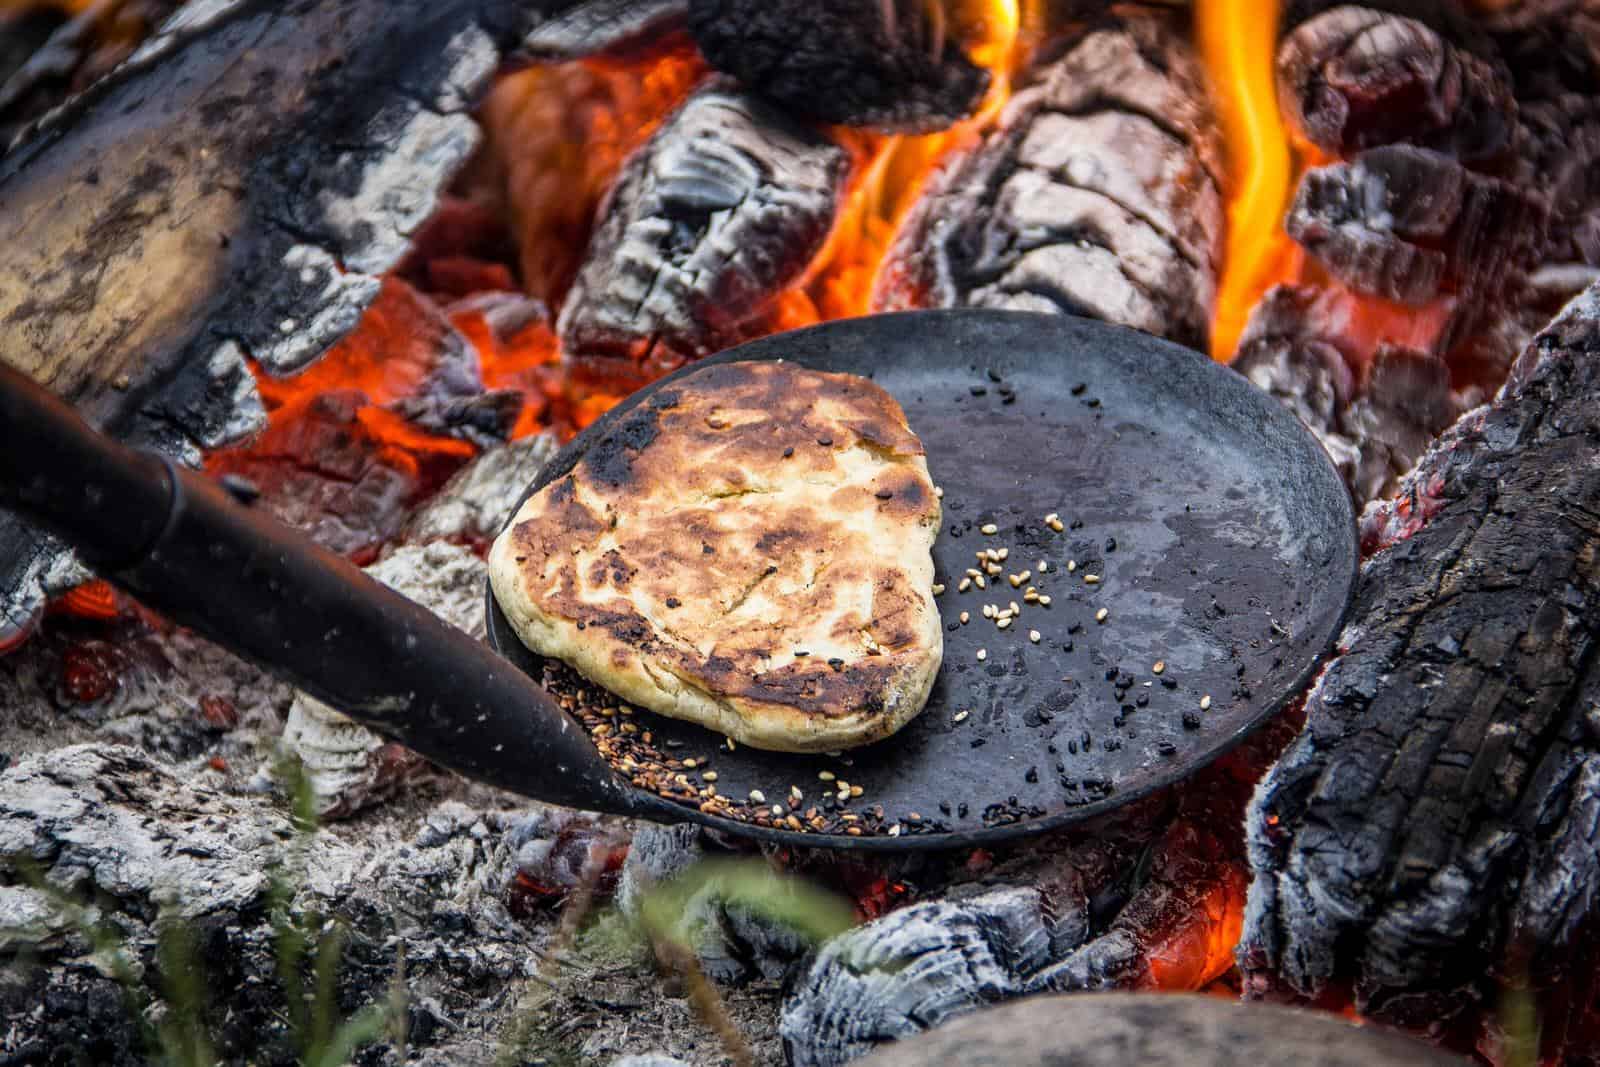
There’s nothing better than being outdoors, cooking over a fire with your friends or family. There is something almost primitive in sitting around a fire and cooking. It links us…
End of content
End of content
No products in the basket.